0
$0.00
0 items

Imagine waking up one day to find your crypto portfolio wiped out. No hacks, no viruses, just a simple mistake like storing your private keys online or falling for a phishing scam. Scary, right?
This is exactly why hardware wallets exist. They are one of the safest ways to store your cryptocurrency, keeping your private keys offline and out of reach from hackers. But if you’re new to using one, the setup process can seem intimidating.
Don’t worry, you’re in the right place! This guide will walk you through how to set up and use a hardware wallet step by step. You'll learn:
By the end of this article, you’ll know exactly how to use a hardware wallet like a pro and protect your crypto from potential threats. Ready? Let’s dive in!
A hardware wallet is a physical device that stores your cryptocurrency private keys offline, keeping them safe from hackers, malware, and online threats. Unlike hot wallets (which are connected to the internet), hardware wallets ensure that your private keys never leave the device, making it nearly impossible for cybercriminals to steal your funds.
When you own cryptocurrency, what you actually control is a private key, a secret code that lets you send and access your funds. If someone else gets access to this key, they can steal your crypto. Hardware wallets protect you in two ways:
Offline Storage – Your private key is stored inside the device and never touches the internet, making it immune to hacks.
Secure Transactions – Even when connected to a computer or phone, transactions are signed inside the device, so your private key remains hidden.
Here’s why hardware wallets are the preferred choice for crypto investors:
Protection Against Hacks – Since they aren’t always online, hackers can’t steal your keys remotely.
Full Control of Your Crypto – Unlike exchanges, you own your keys, ensuring no one else can freeze or access your funds.
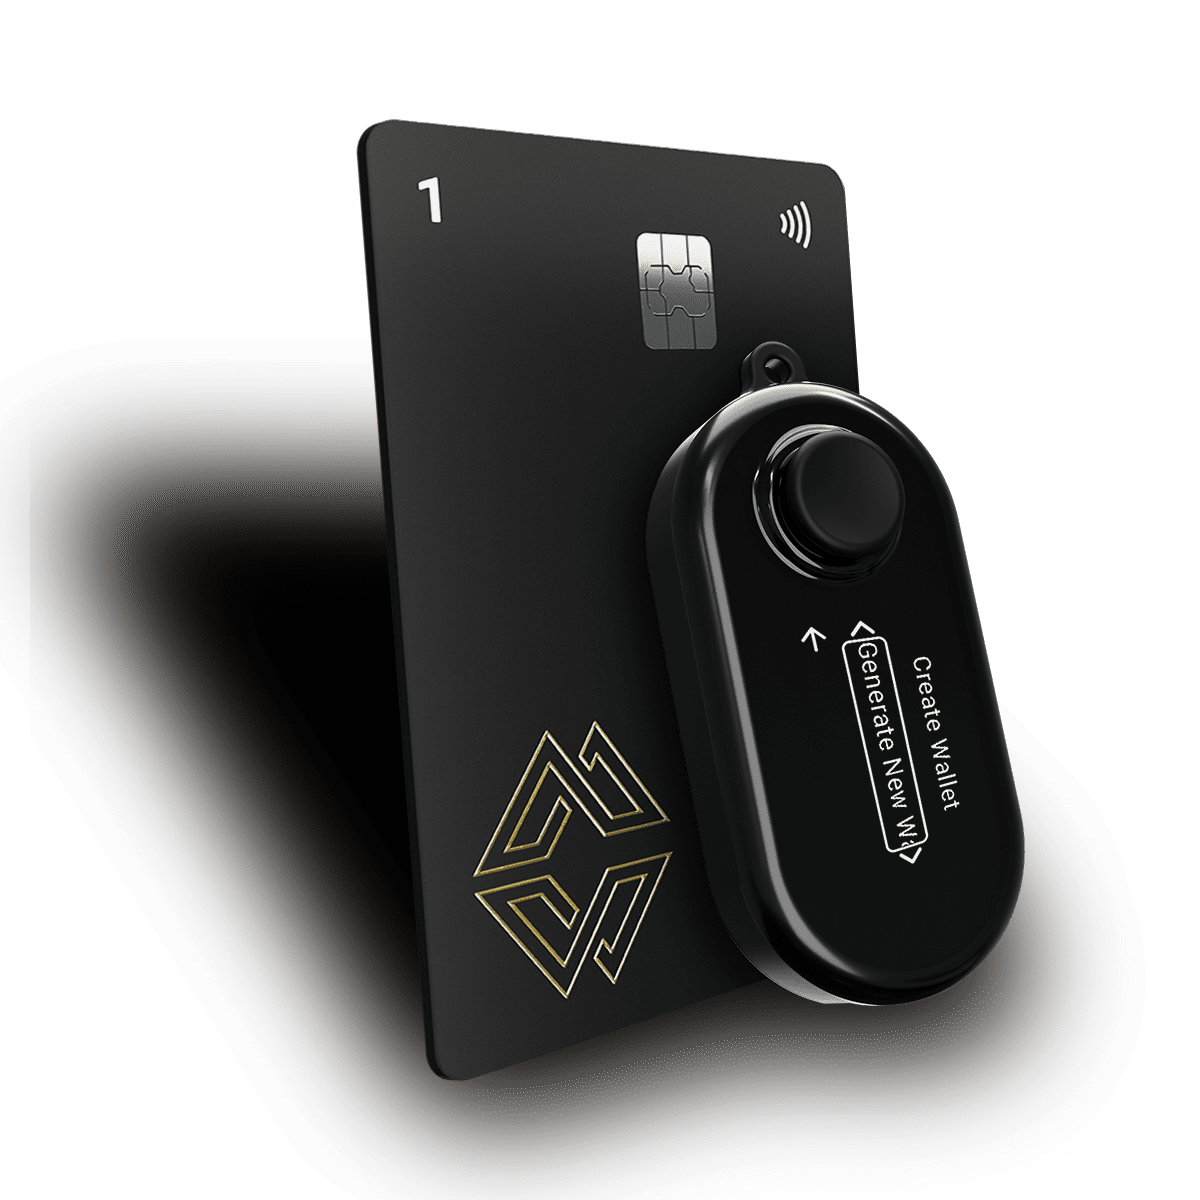
Backup and Recovery – Even if you lose your device, you can recover your funds using your backup seed phrase, or using a hardware wallet like Cypherock X1 which eliminates the need of seed phrase backup.
A hardware wallet is like a vault for your crypto, simple, secure, and essential for anyone serious about protecting their digital assets.
A hardware wallet works by storing your private keys offline and allowing you to securely sign transactions without exposing them to the internet. This prevents hackers, malware, and phishing attacks from stealing your funds. Let’s discuss how hardware wallet works in detail:
When you set up a hardware wallet, it generates a private key, a secret code that controls access to your cryptocurrency. Unlike a hot wallet, which stores keys on an internet-connected device, a hardware wallet never reveals your private key to the outside world.
When you want to send crypto, here’s what happens:
1️- You enter the transaction details (amount, recipient address) on your computer or phone.
2️- The transaction is sent to your hardware wallet without the private key leaving the device.
3️- You confirm and sign the transaction directly on the hardware wallet’s screen.
4️- The signed transaction is sent back to your computer or phone and then broadcasted to the blockchain.
Since the private key stays locked inside the device, even if your computer is infected with malware, hackers can’t steal your crypto.
Most hardware wallets provide a recovery seed phrase, a set of 12–24 words that act as a backup. If your wallet is lost or damaged, you can restore your funds using this phrase on another wallet.
However, some advanced wallets, like Cypherock X1, use a decentralized seed phrase backup system that splits your private key into multiple secure shares, removing the risk of a single point of failure like- loose, theft or unauthorized access.
Picking the right hardware wallet is crucial for keeping your crypto safe and accessible. With so many options available, how do you know which one is best for you? It all comes down to security, features, and usability.
Your hardware wallet should have strong protection against hackers and physical threats. Look for:
Different wallets connect in different ways. Consider what works best for your needs:
Not all wallets support every coin. Before buying, check if your wallet supports:
Setting up your hardware wallet correctly is the most important step to keeping your crypto safe. Follow this step-by-step guide to ensure your wallet is properly installed and secured.
Before you start, make sure your device is genuine and untampered.
If the wallet looks tampered with, do not use it—contact the manufacturer immediately.
Your hardware wallet needs official software to manage your crypto.
1️- Go to the official website – Avoid phishing scams by double-checking the URL.
2️- Download and install the wallet app – Most brands offer software for desktop and mobile.
3- Follow on-screen instructions – The software will guide you through the next steps.
Never install software from unofficial sources, as fake apps can steal your funds.
Now, it's time to link your device to your computer or phone.
Your wallet screen may ask you to confirm the connection, follow the prompts carefully.
Once connected, it’s time to generate your private keys.
Never share your PIN or use an easy-to-guess number. If someone gets your PIN, they can access your wallet.
Once your hardware wallet is set up, the next step is transferring your crypto from an exchange or software wallet. This process ensures that your funds are securely stored and protected from online threats. Follow these steps carefully to avoid mistakes and lost funds.
To receive crypto, you first need to access your wallet.
1- Open the official wallet app on your computer or mobile device.
2- Connect your hardware wallet using a secure method:
3- Enter your PIN if prompted to unlock the device.
Once connected, your wallet is ready to receive funds.
Each cryptocurrency has its own unique address.
Now, you need a wallet address to receive your crypto.
1️- Click "Receive" in your wallet software.
2️- Your hardware wallet will display a receiving address (a long string of letters and numbers).
3️- Verify the address on your hardware wallet screen—this prevents phishing attacks.
4️- Copy the address or scan the QR code.
Important: Always verify the address on your hardware wallet itself, not just on your computer screen. Malware can replace the address and send funds to hackers instead.
Why does your wallet need a display? Explore it now!
Now, go to the exchange or wallet where your crypto is currently stored.
Tip: Always start with a small test transaction to ensure the address is correct before sending large amounts.
After sending the crypto, confirm that it arrives in your hardware wallet.
Security Tip: If you don’t see your funds, double-check the transaction details on a blockchain explorer. Avoid refreshing third-party wallet apps, as they can sometimes have delayed updates.
Once your funds are securely stored in your hardware wallet, you may need to send crypto to an exchange, another wallet, or a friend. Sending crypto from a hardware wallet ensures that your private keys never leave the device, keeping your transaction secure. Follow these steps carefully to avoid mistakes and ensure a safe transfer.
Before sending crypto, you need to access your hardware wallet.
1- Open the official wallet software on your computer or mobile device.
2- Connect your hardware wallet using a secure method:
3- Enter your PIN on the device to unlock it.
Your wallet is now ready to send crypto.
Each cryptocurrency operates on a specific network. Choosing the wrong network can lead to lost funds.
Tip: If you're unsure about the network, confirm with the recipient or check the withdrawal/deposit instructions on an exchange.
Now, you need to provide the destination for your crypto.
1️- Copy the recipient’s wallet address (from an exchange or another wallet).
2️- Paste the address into your hardware wallet app.
3️- Double-check the address on both your computer and hardware wallet screen.
4️- Enter the amount you want to send.
Security Tip: Avoid typing addresses manually—always copy and paste or use a QR code to prevent mistakes. Malicious software can replace copied addresses with a hacker’s wallet!
Before your transaction is sent, you must review and approve it.
Once confirmed, the wallet software will broadcast the transaction for processing.
After sending, you can track your transaction to ensure it’s processed correctly.
Tip: If your transaction is taking too long, check the gas fees or network congestion. Some wallets allow you to speed up or cancel pending transactions.
Even though hardware wallets offer strong protection, they are not immune to risks. To maximize security and keep your crypto safe from hackers, phishing attacks, and theft, follow these best practices.
Always purchase your hardware wallet directly from the manufacturer’s website or authorized resellers.
A strong PIN code protects your wallet from unauthorized access.
Tip: A passphrase creates a hidden wallet that only you can access, even if someone gets your recovery seed.
Your recovery seed is the only way to restore your wallet if it's lost or damaged.
Alternative: Some wallets, like Cypherock X1, use a decentralized seed phrase backup system that splits your private key into multiple secure shares, reducing the risk of losing access.
Hackers use fake websites and emails to trick you into revealing your private keys or recovery seed.
Tip: Bookmark the official website of your wallet provider and only use that link.
Wallet manufacturers release security updates to protect against new threats.
Crypto security is your responsibility, and a hardware wallet is your best defense against hackers, scams, and theft. By keeping your private keys offline, hardware wallets provide a secure and reliable way to store your digital assets.
In this guide, you’ve learned:
By following these steps, you’re taking full control of your crypto and ensuring long-term security for your investments.
Final Tip: Always buy from official sources, keep your recovery seed safe, and stay vigilant against phishing attacks. For ultimate security, consider wallets with decentralized seed phrase backup solutions, like Cypherock X1, to eliminate single points of failure.
Start securing your crypto journey today, visit Cypherock X1 to learn more.
Connect with us:
Twitter: @CypherockWallet
Telegram: Join the Community